


 Prova Virtual
 Troca de Modelo com IA
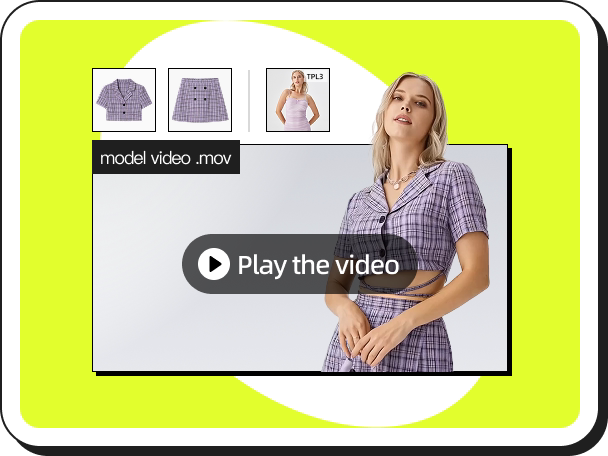 Vídeos de Moda
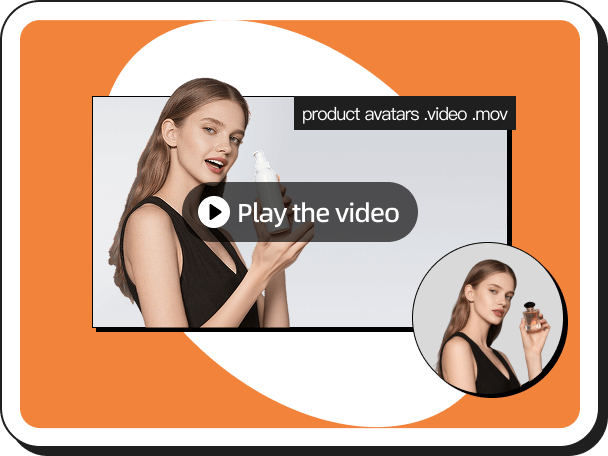 Avatar de Produto
 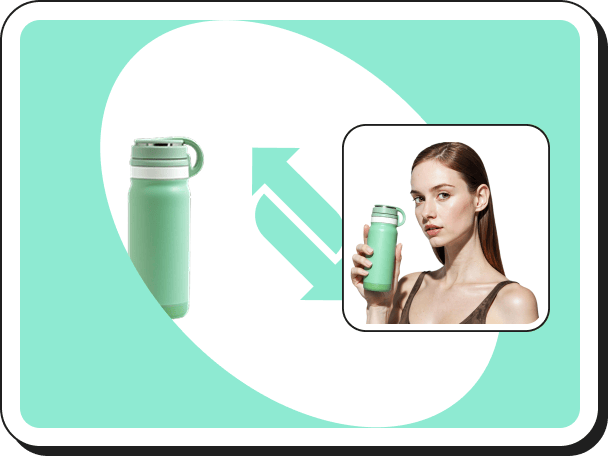 Vista Tudo
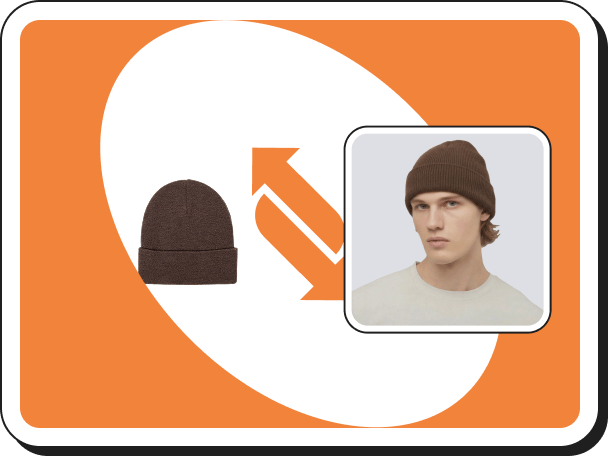 Prova Virtual De Acessórios
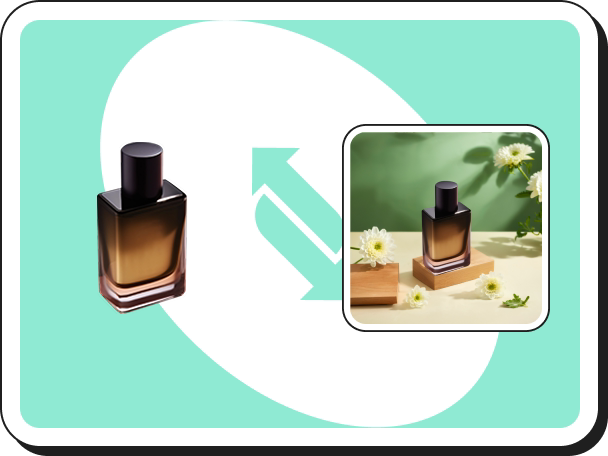 Fundos de IA
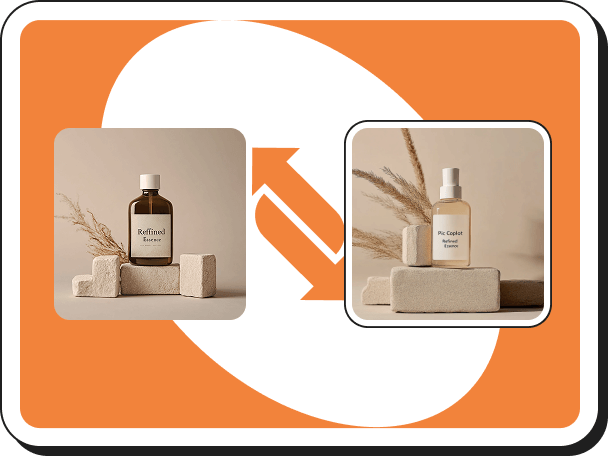 Clonar Estilo
 Remover Marca d’Água
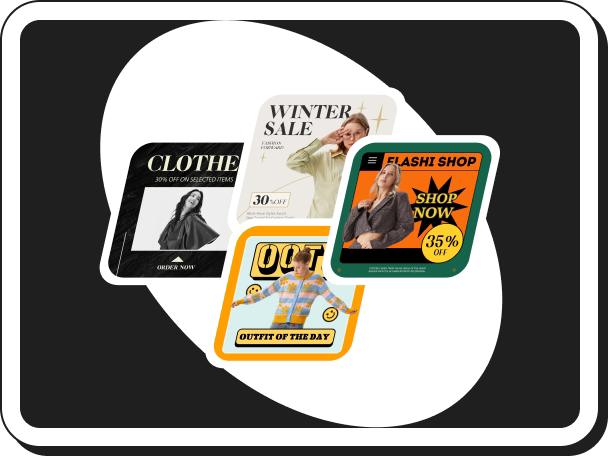 Modelos de IA
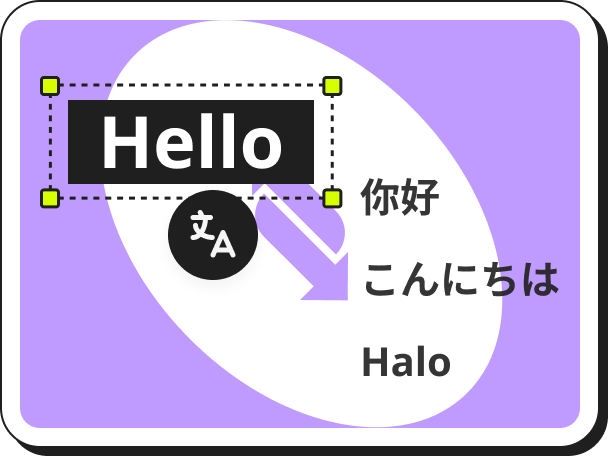 Tradutor de Imagens
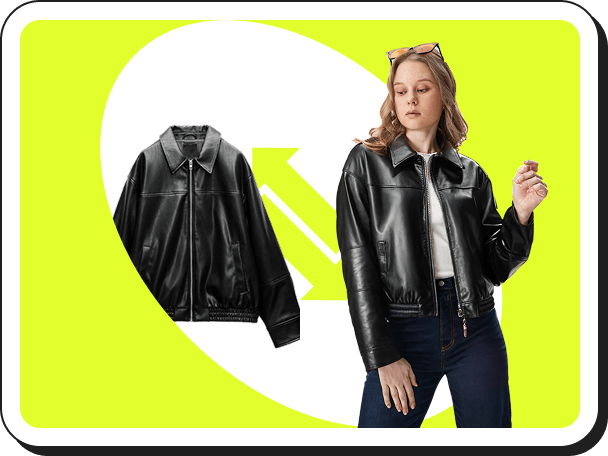
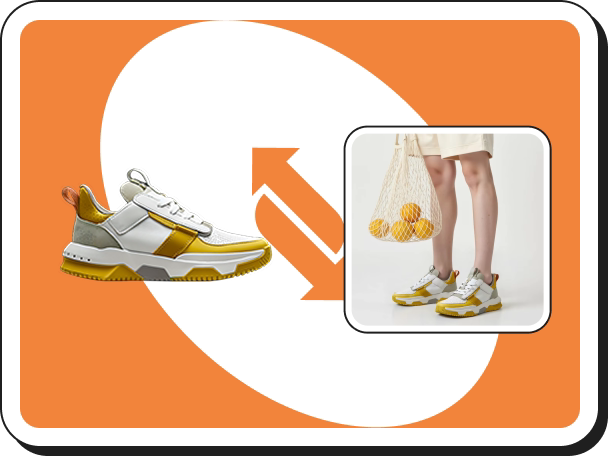 Prova Virtual de Calçados
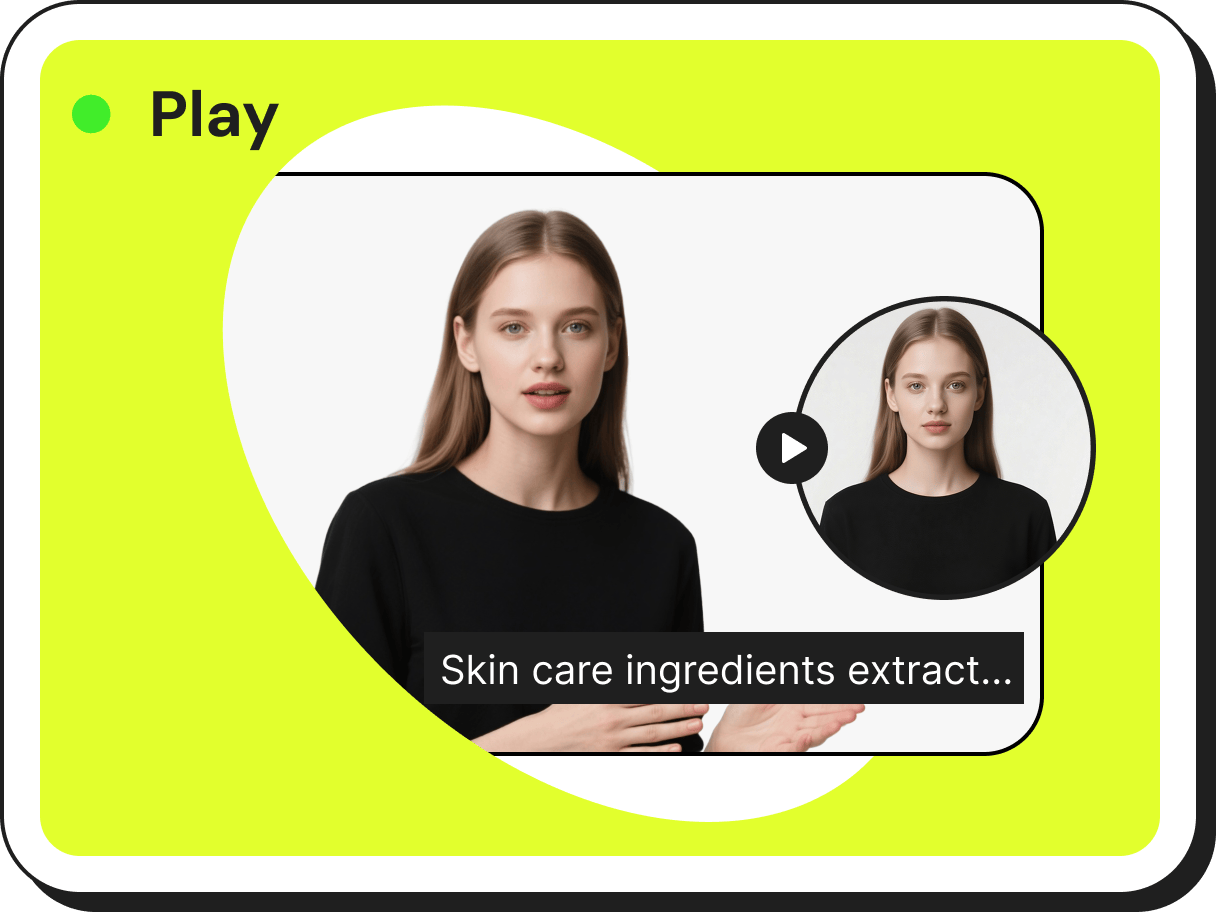 Avatares com IA
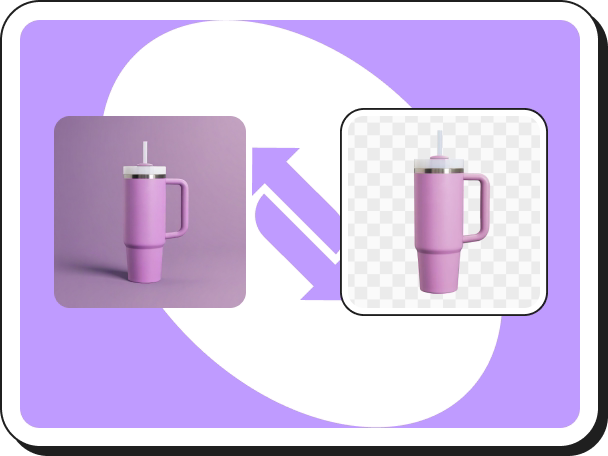 Removedor de Fundo
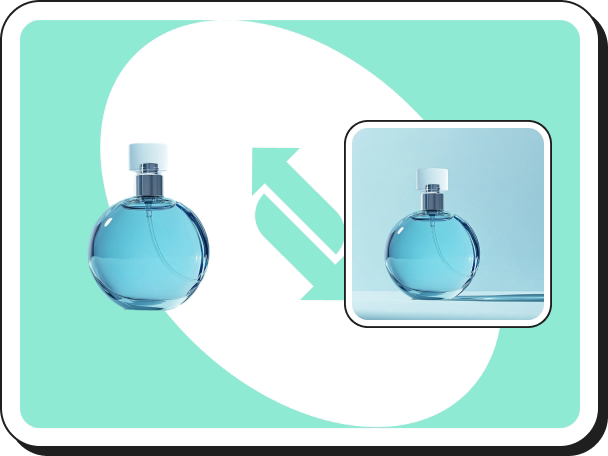 Sombras com IA
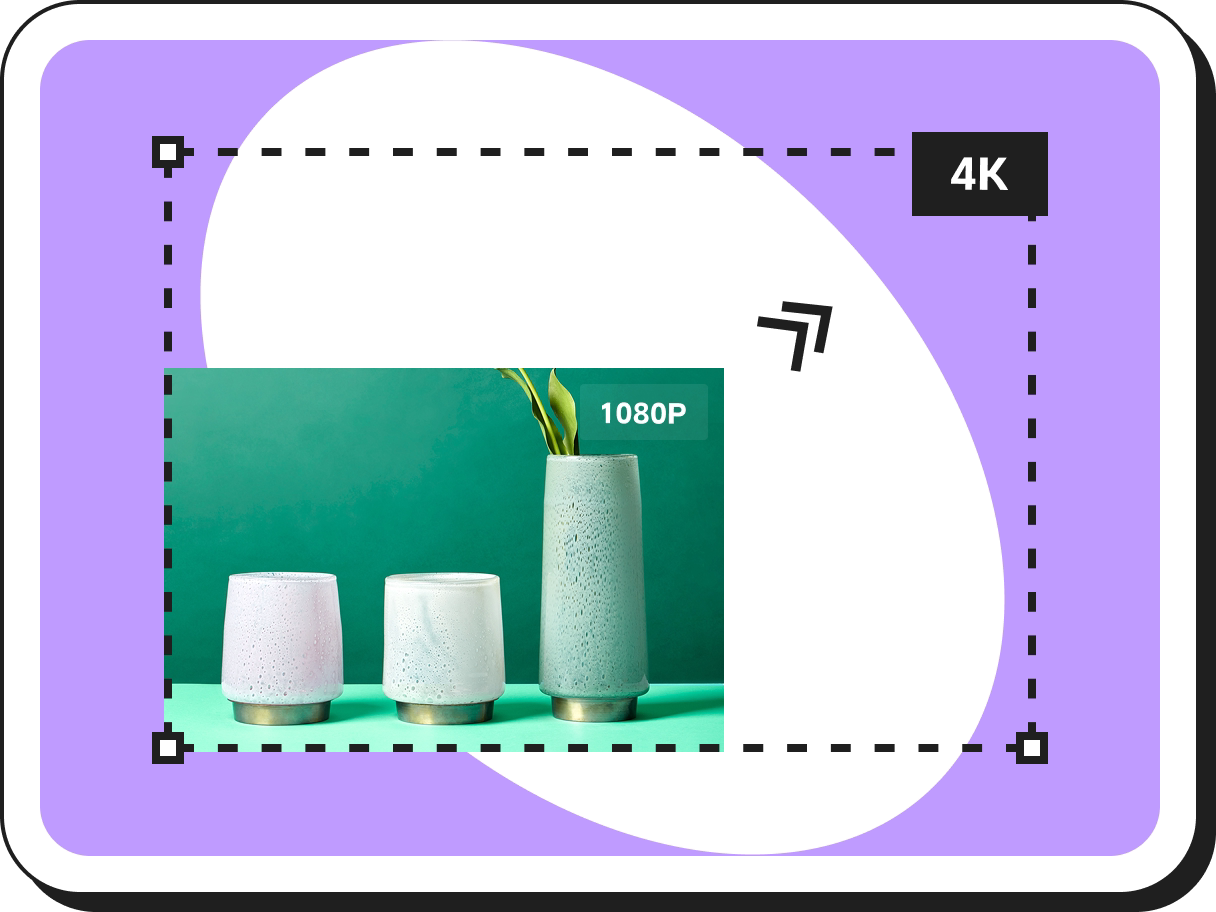 Aumentar Resolução de Imagens
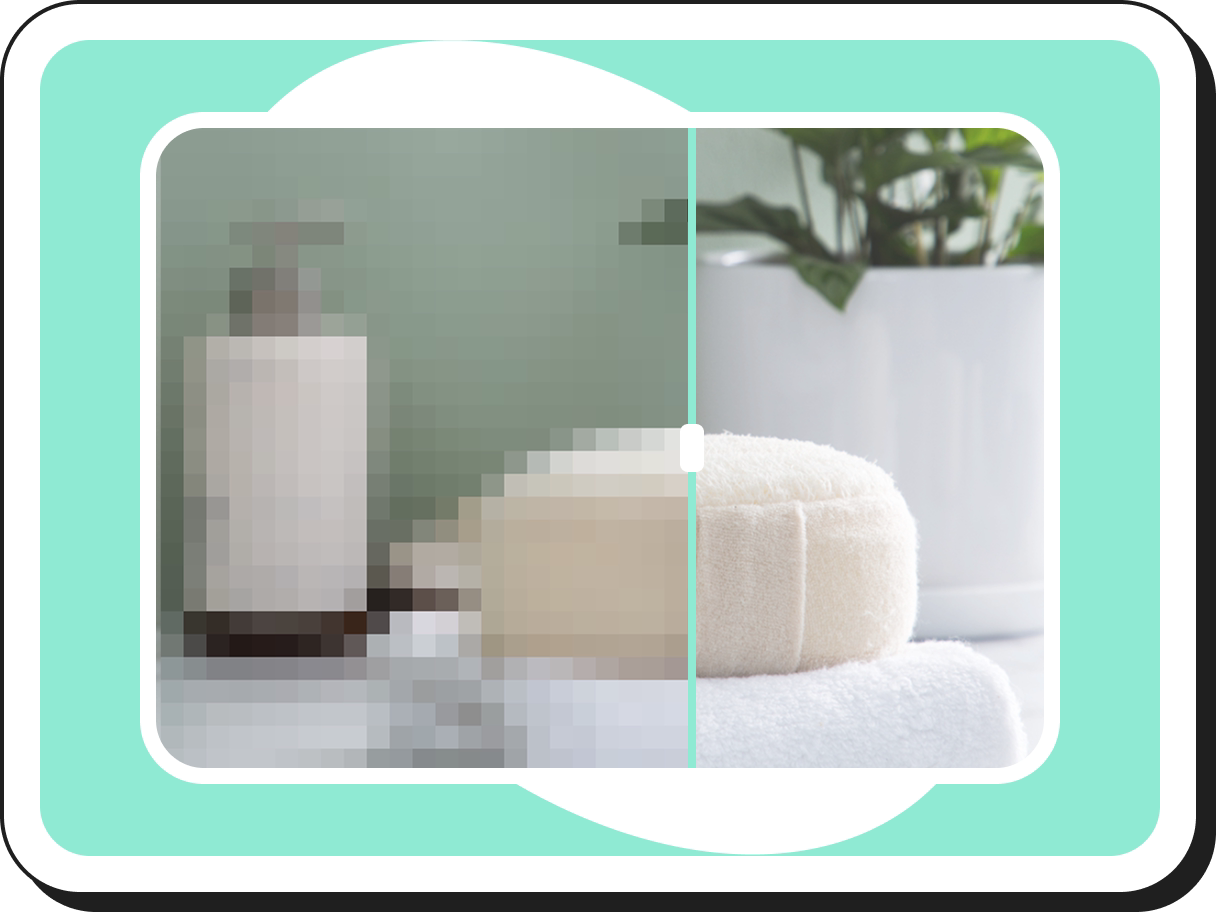 Aprimorador de Imagens
How to Put Specific Glasses on a Custom Model Photo Using AI
 Pic Copilot Team
Introduction: Beyond "Stickers" and "Filters"
When you search for "how to add glasses to a photo," you usually find simple apps that paste a fake-looking 2D sticker on your face. Or, you find AR filters that require you to turn on your webcam and move your head around.
But what if you have a specific need?
- You have a photo of yourself (or a model) that you really like.
- You have a photo of a specific pair of glasses you want to try or sell.
- You want to merge them realistically.
You don't want a random AI-generated pair of glasses. You want to see YOUR glasses on YOUR photo.
This is where the new generation of AI Compositing Tools comes in. Unlike basic photo editors, our tool allows you to upload two specific images—the accessory and the person—and blends them together with perfect lighting and fit.
Section 1: The "Two-Image" Workflow Explained
Most "virtual try-on" tools lock you into using their pre-set models. But our technology is built on flexibility. It works on a simple "A + B = C" logic:
- Input A (The Accessory): A clean photo of the glasses frames.
- Input B (The Reference): A photo of the person (Custom Model).
- Output C: A photorealistic result where the person is wearing those exact glasses.
This capability is a game-changer for content creators, small business owners, and shoppers who want to visualize a product on a specific image they already own.

Section 2: Step-by-Step – How to Add Glasses to Your Own Photo
Based on the interface you see in professional tools (like ours), here is the exact process to get a studio-quality result.
Step 1: Upload the Accessory Image (The Glasses)
First, you need a clear shot of the glasses.
- Best Practice: A photo of the glasses on a plain white or transparent background works best.
- Angle: Ideally, the glasses should be facing forward (front view) or slightly angled, matching the angle of the face in your target photo.
Step 2: Select Your Reference Image (The "Custom" Option)
This is the most important step. You have two choices:
- Option A: Recommended Models: If you just want to see the glasses on a professional face, choose from the system's diverse library of models.
- Option B: Custom Model (Upload Your Own): Click the "Custom" tab. Here, you can upload:
- A high-quality portrait of yourself.
- A photo of an influencer or friend (with permission).
- A photo of a mannequin or a specific pose you styled.
Pro Tip for Reference Images: Ensure the face is not covered by hair or hands. The AI needs to clearly see the eyes and ears to anchor the glasses correctly.
Step 3: AI Generation & Compositing
Once both images are uploaded, the AI goes to work. It doesn't just "paste" the glasses on top.
- Face Mesh Detection: It identifies the 3D structure of the custom face (nose bridge height, ear position).
- Scale & Fit: It automatically resizes the glasses product image to fit the head size of the uploaded photo.
- Lighting Adaptation: If your custom photo was taken in warm sunlight, the AI will adjust the reflections on the glasses to match that warm light.

Section 3: Use Cases – Who Is This For?
This "Custom Upload" feature solves specific problems for different users:
1. The "Smart Shopper" (Personal Use)
You are shopping online, but you hate using webcams. You have a favorite "Selfie" stored in your phone where you look your best.
- Action: Upload that selfie + the product image from the store page.
- Result: You see exactly how those frames suit your face shape in your favorite photo.
2. The Social Media Creator (Light B-End)
You are an influencer promoting an eyewear brand. You have a great lifestyle photo of yourself at a coffee shop, but you forgot to wear the glasses during the shoot.
- Action: Don't reshoot. Use the add glasses to photo tool to composite the product onto your existing high-quality photo.
3. The Reseller / Optician
You have a client who wants to see how a frame looks on them, but they are not in your store.
- Action: Ask the client to WhatsApp you a photo. You upload their photo + your frame image. Send them back the generated result. It’s a personalized "Digital Mirror."
Section 4: Why This Beats Photoshop
You might ask, "Can't I just do this in Photoshop?"
Technically, yes. But placing glasses on a custom photo manually is incredibly hard.
- The Shadow Problem: In Photoshop, you have to manually paint the drop shadow on the nose. AI does this automatically.
- The Temple Arm Problem: Real glasses go behind the ears and sometimes into the hair. In Photoshop, you have to manually erase parts of the glasses arm pixel by pixel. Our AI understands "Depth" and automatically masks the glasses behind the hair/ears.
Conclusion: Your Photos, Your Products, Perfect Fit
The future of virtual try-on isn't just about using stock models; it's about using your own content.
Whether you want to see a product on yourself, or you are a seller creating a mockup for a client, the ability to upload a custom model and add glasses to that photo creates endless possibilities.
Stop guessing. Start combining.
[Upload your photo and glasses now] to see the magic happen.