


 가상 착용
가상 착용 AI 모델 교체
 패션 동영상
 제품 아바타
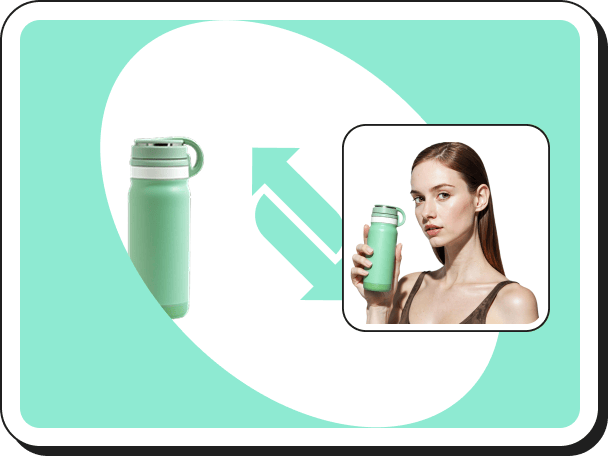 손에 든 상품 보기
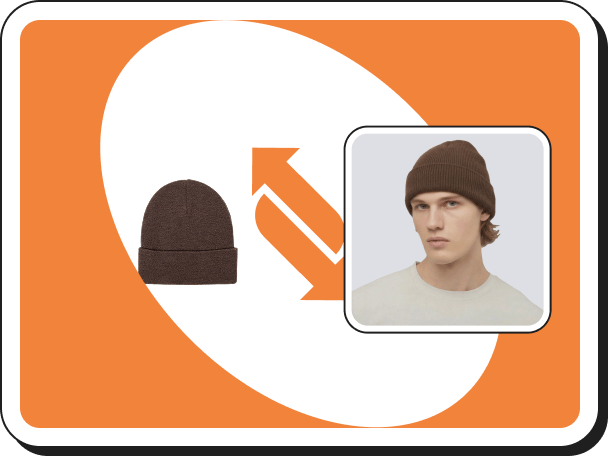 액세서리 가상 착용
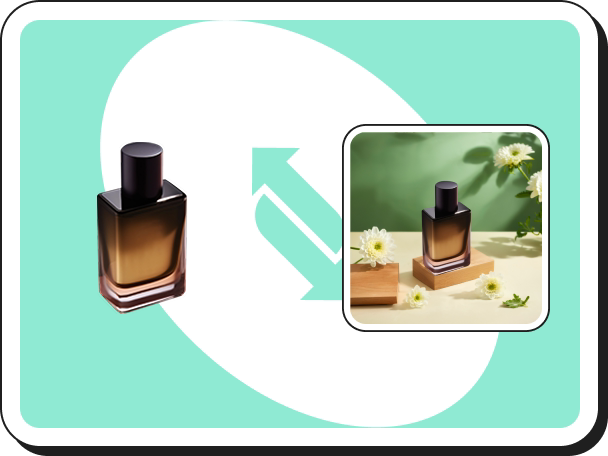 AI 배경생성
 스타일 복제
 워터마크 제거
 AI 템플릿
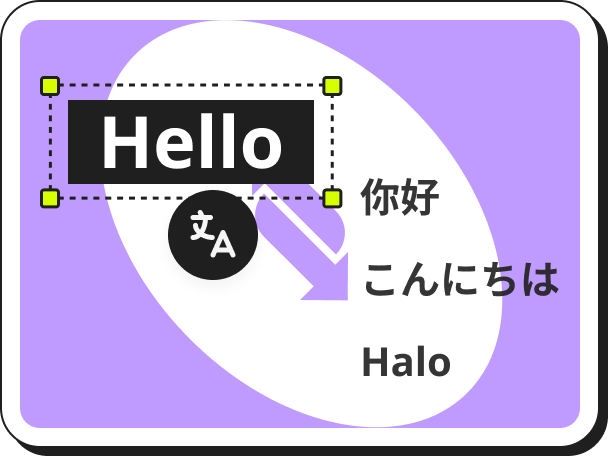 이미지 번역
 AI 신발 가상 피팅
 AI 아바타
 배경 제거
배경 제거 AI 그림자
 이미지 확대기
 이미지 향상기
【Image Translator】Usage Guide
 Pic Copilot Team
Step 1
Find the【Image Translator】tool on the Create page and click into it.
Step 2
Upload the images you want to translate.
Note: Members can upload and translate up to 20 images at a time.
Step 3
Select the【Original language】of the image. Currently, the original language only supports【Chinese】or【English】.
Step 4
Select【Translate into】. Then click 【Translate】.
Step 5
- Use the editor on the right to modify the translated text’s size, font, font color, and style.
- Adjust text alignment and apply various text formatting options.
- You can manually reposition and edit the translated text within the editing area.
- In the Translated Text section, choose between:
- Default translation
- AI Translation powered by an AI language model
- If certain areas of the image should not be translated, select those regions and choose “Do not translate” under the Translate or Not option.
Step 6
You can choose to:
- Save your work
- Download the translated images
- Delete images you no longer need
Note: Both Download and Delete support batch processing for efficiency.